usethis::create_project("~/Desktop/wood-survey")Projects in Rstudio
Project Management
General Project Organisation
Good project layout helps ensure:
- Integrity of data
- Portability of the project
- work is easy to revisit after a break and onboard new collaborators
- supports tool building which takes advantage of the shared structure.
Principles
- Everything required is contained in the project or sourced automatically.
- Use paths relative to the project root directory.
- Separate data, methods, and output, while making the relationship between them clear.
- Document the contents of your project and how to use them.
- Use R package development and community conventions.
- Do not manually edit raw data.
- Keep a clean pipeline of data processing from raw to analytical.
Rstudio Projects
Rstudio projects are a convenient way to manage research projects, providing the scaffolding for self contained and portable work.
Features
- Self contained and portable
- Clean environment on load
- Working directory and files tab set to project root
Posit Cloud projects
For the rest of the course, we will be working in a project where I have already set up the computational environment. This will save a lot of time by avoiding having to run a long installation scripts during the class or debug individual installation problems.
Launch Posit Cloud project
To access this project, please click on the supplied project link
This should drop you into the ACCE DTP Reproducible research in R Workspace. If not, navigate to the space from the menu on the top left.
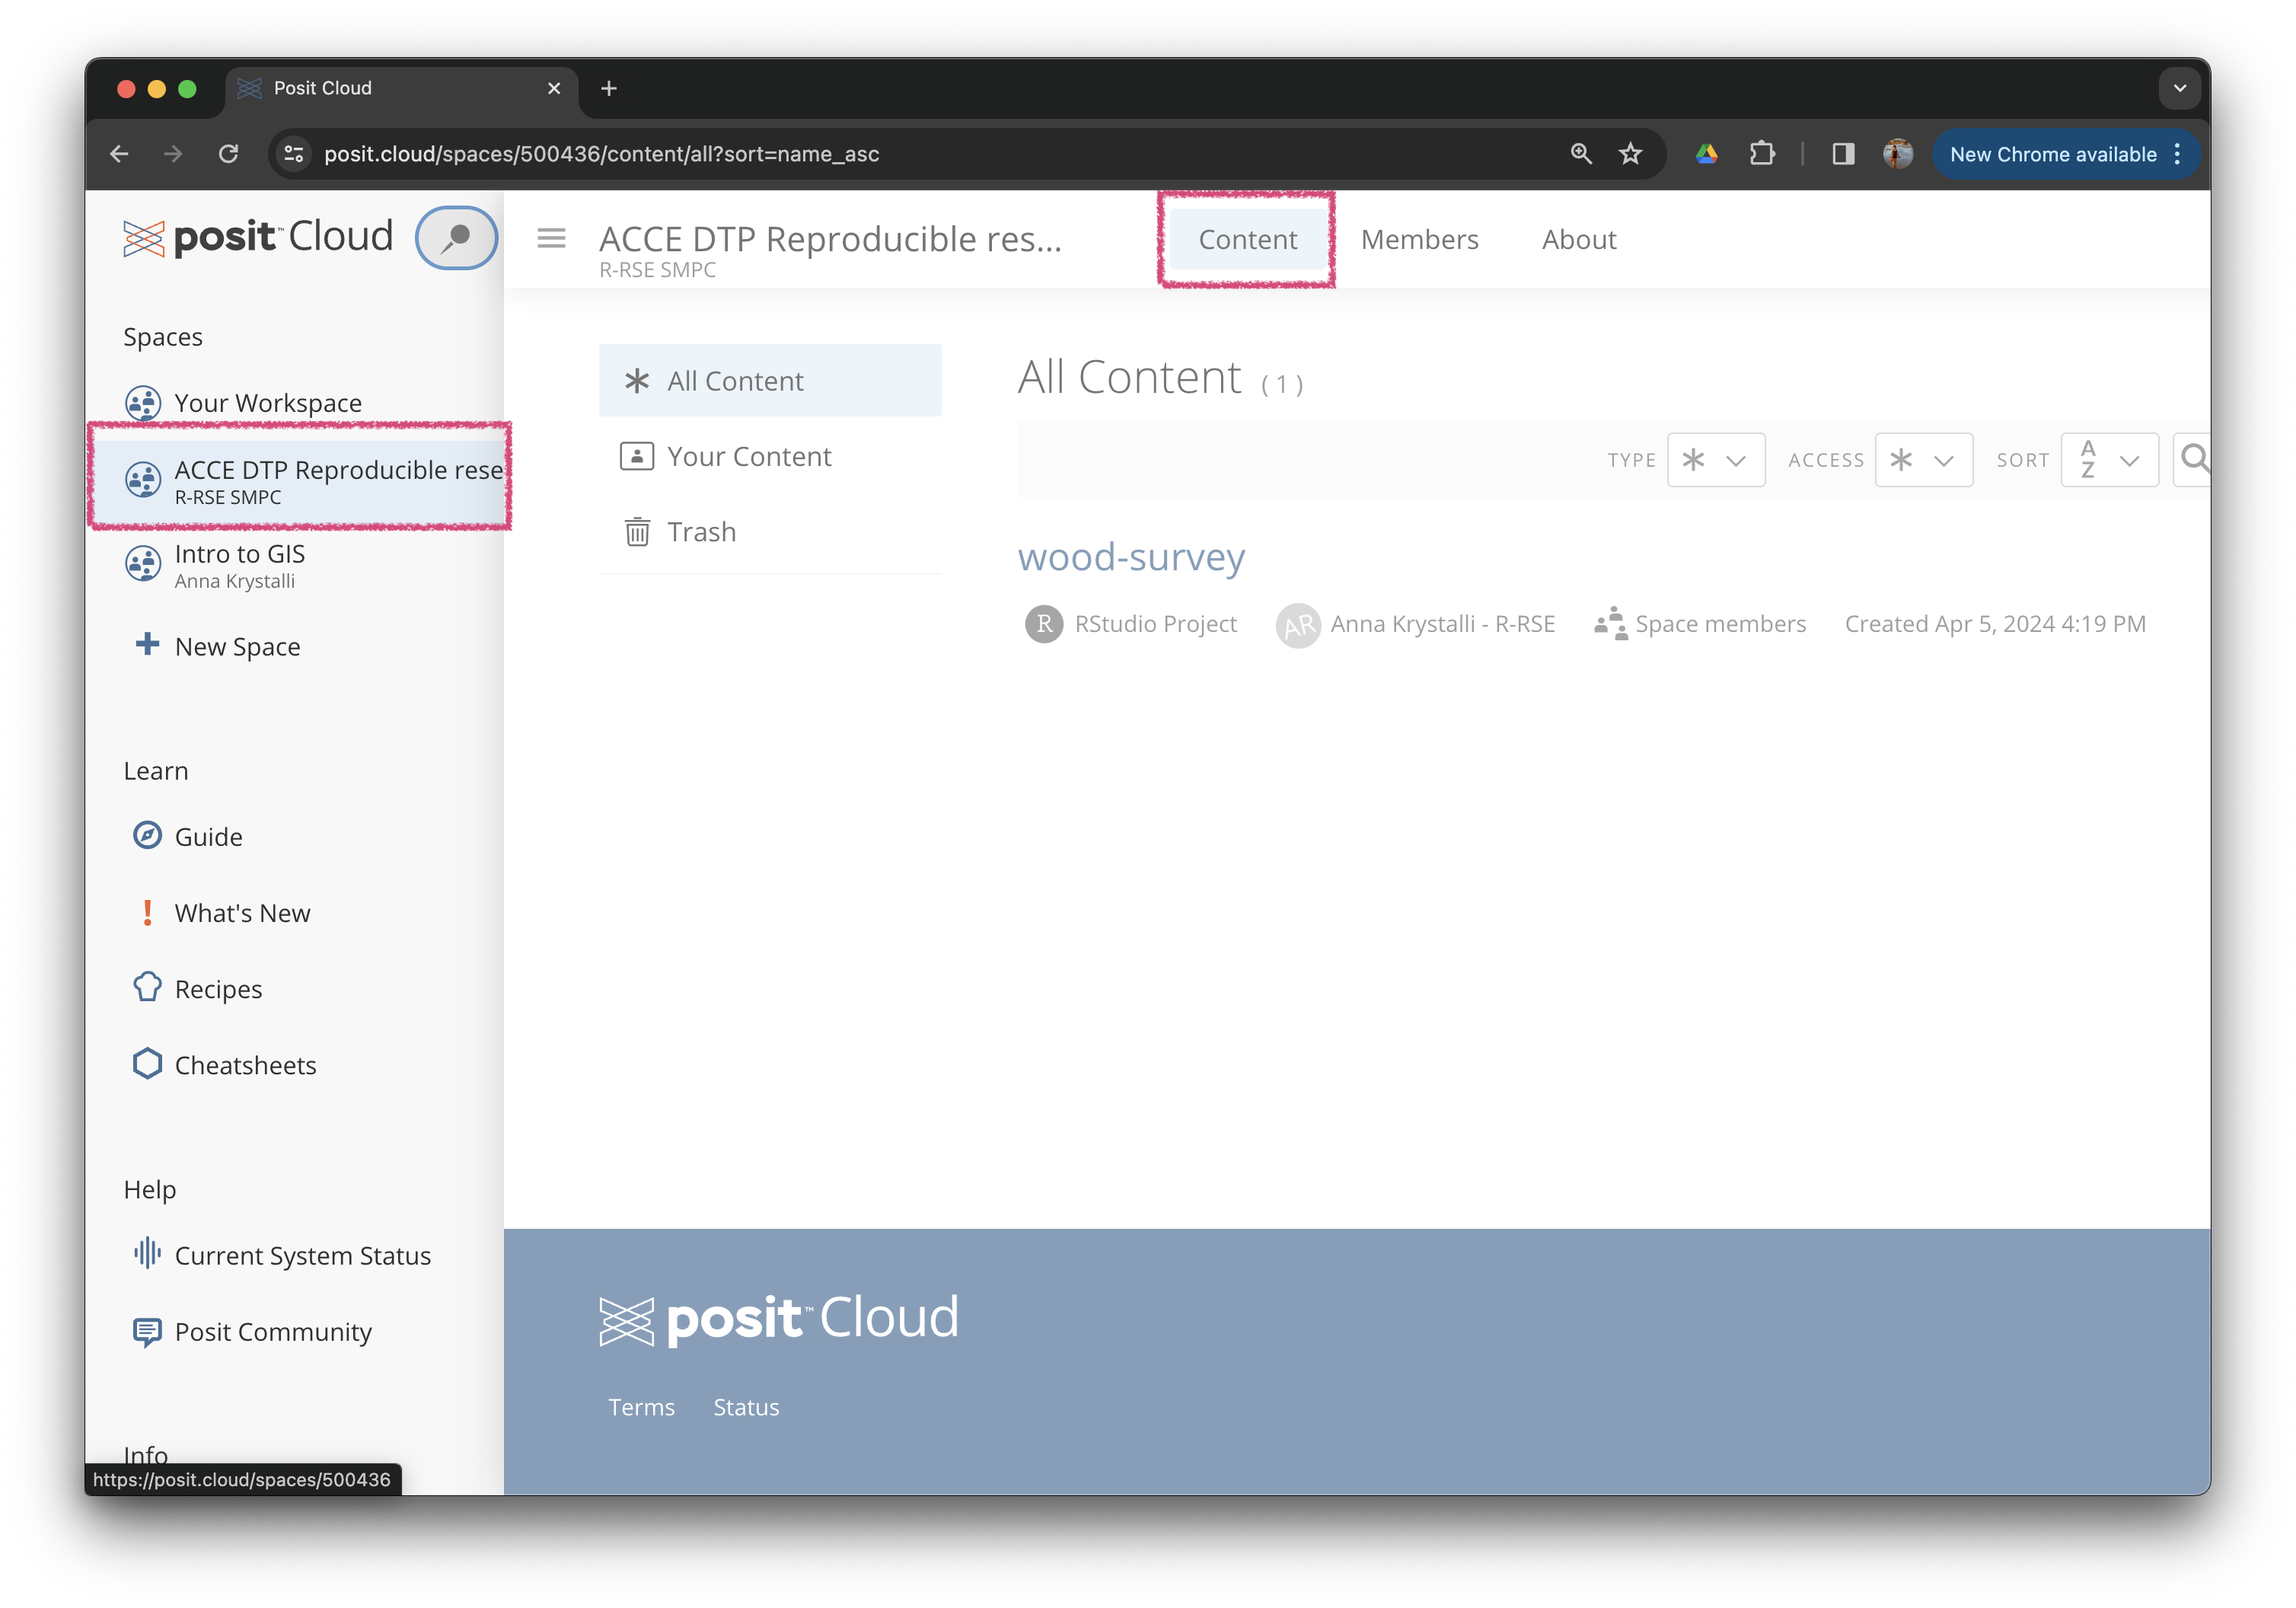
In there you will find a project called wood-survey. Click on + Copy to create your own copy of the project.

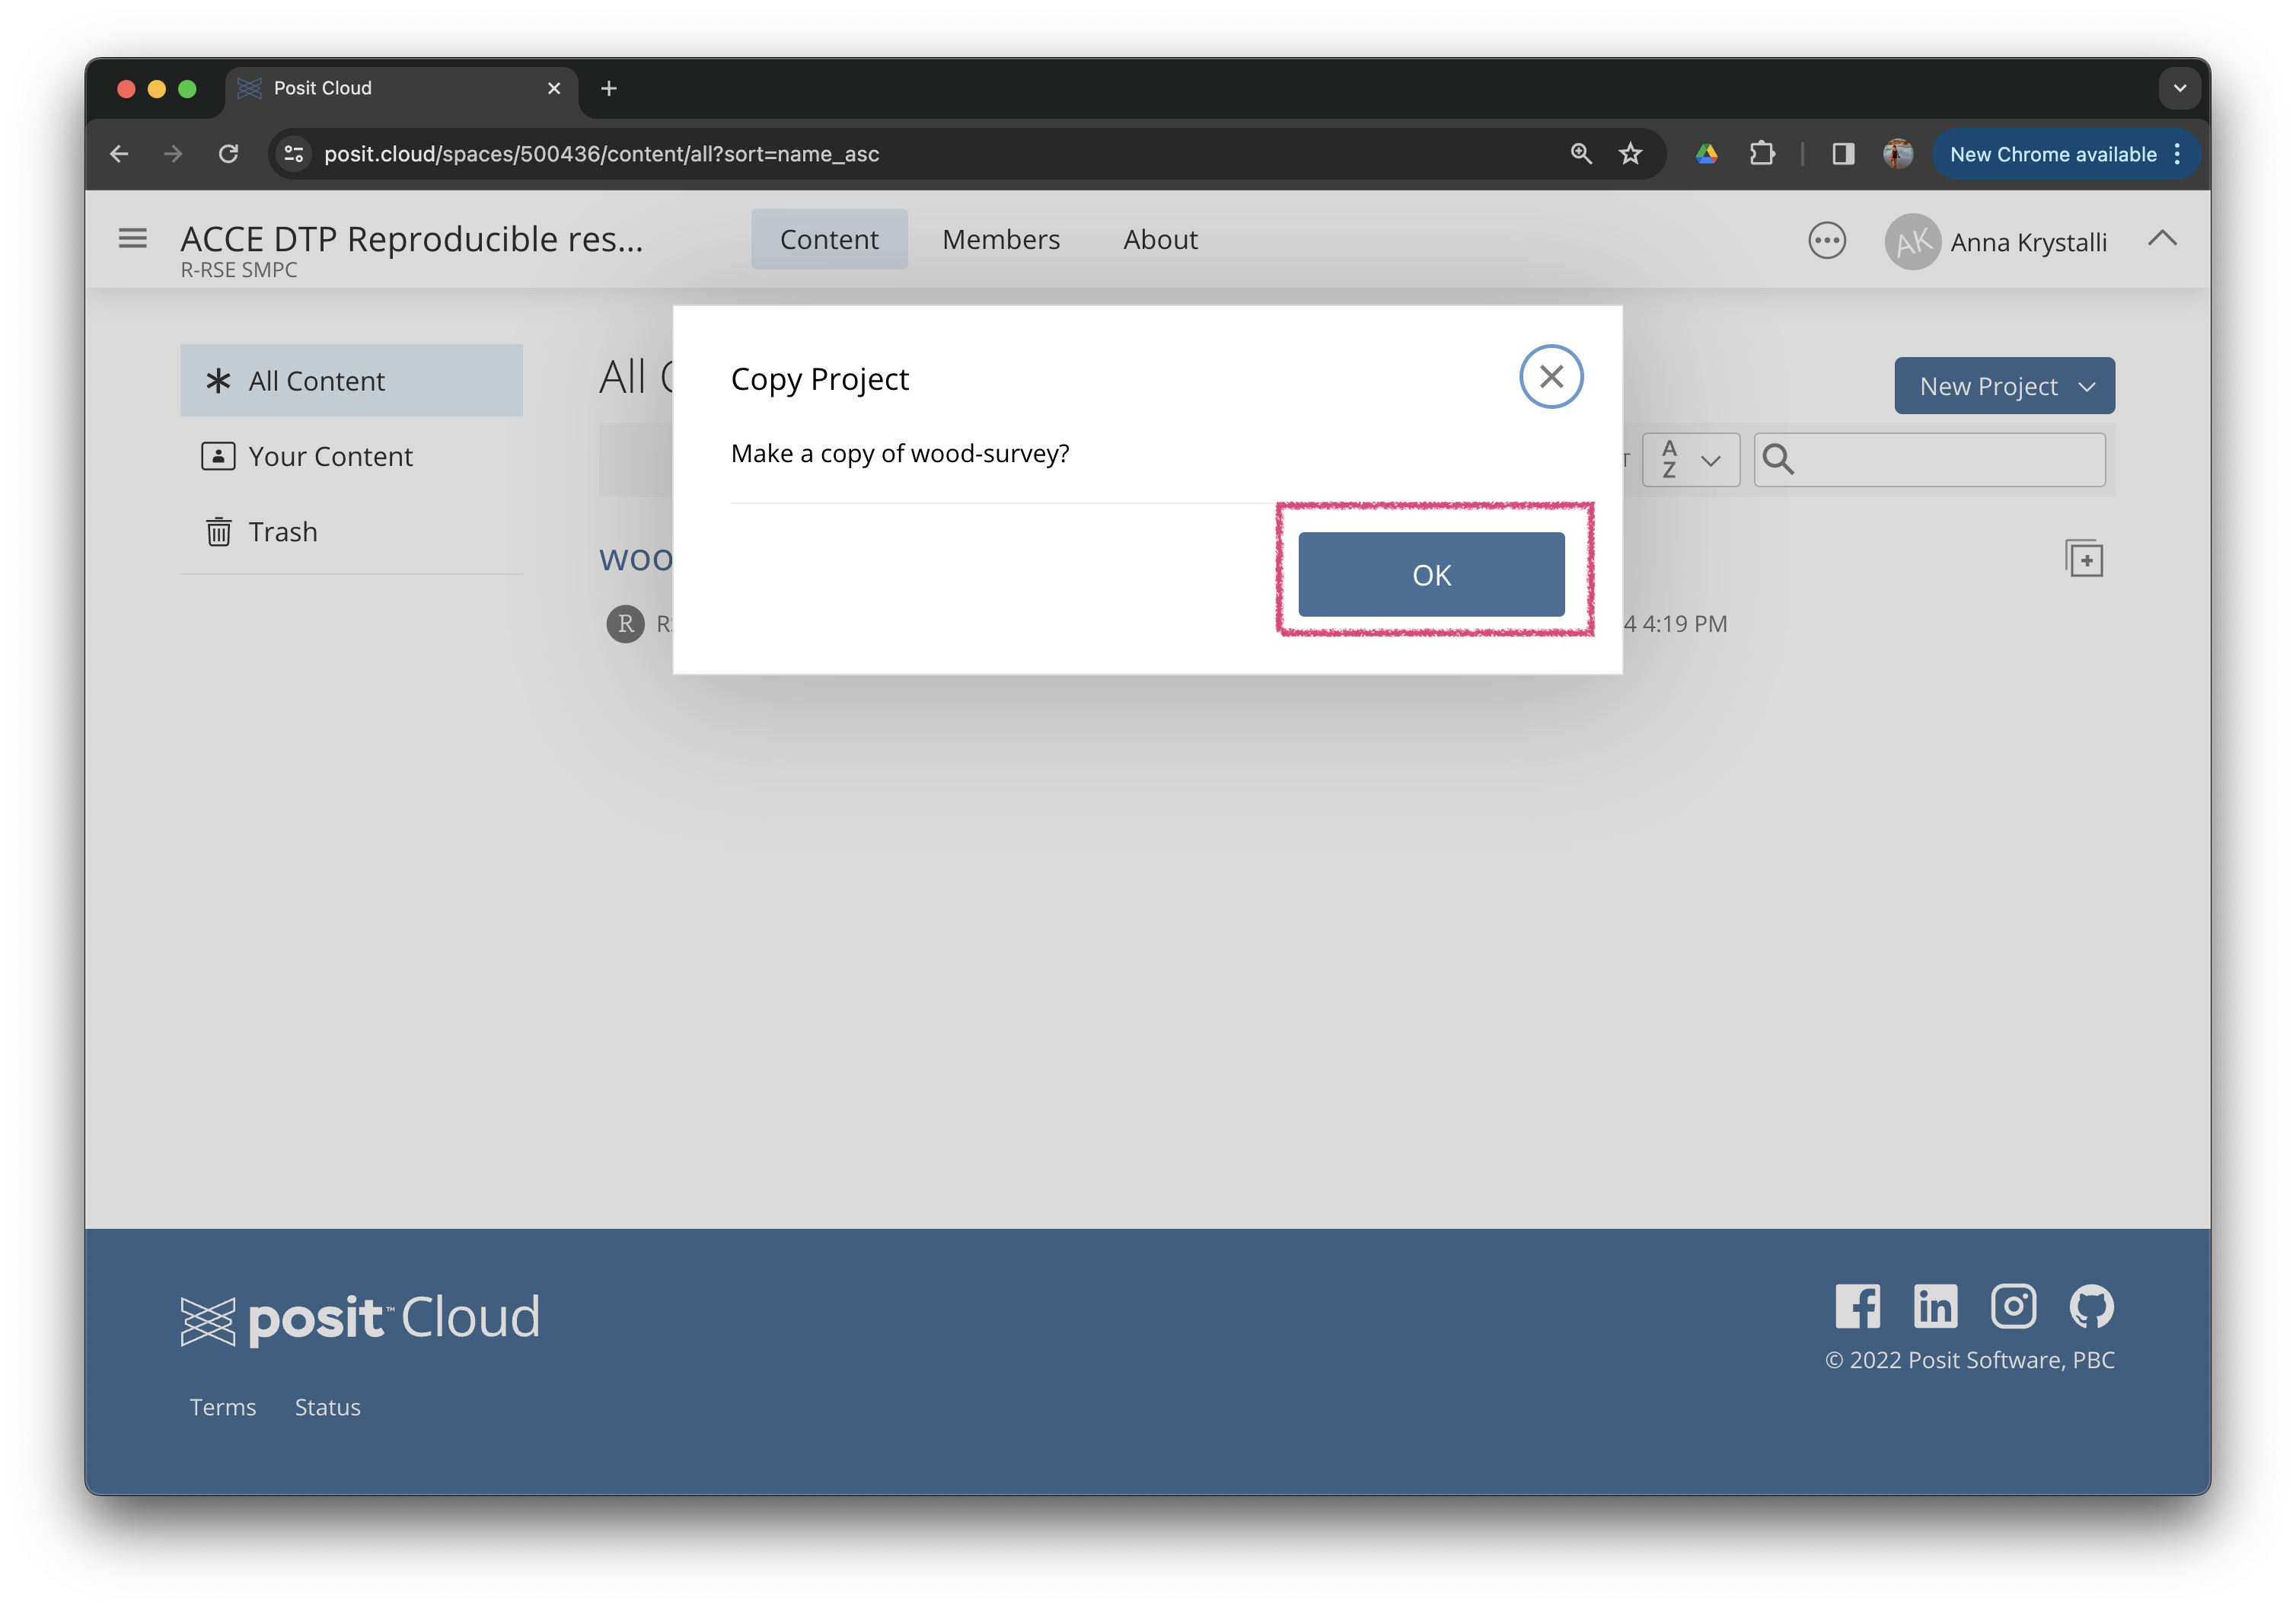
You now have your own copy of the project.
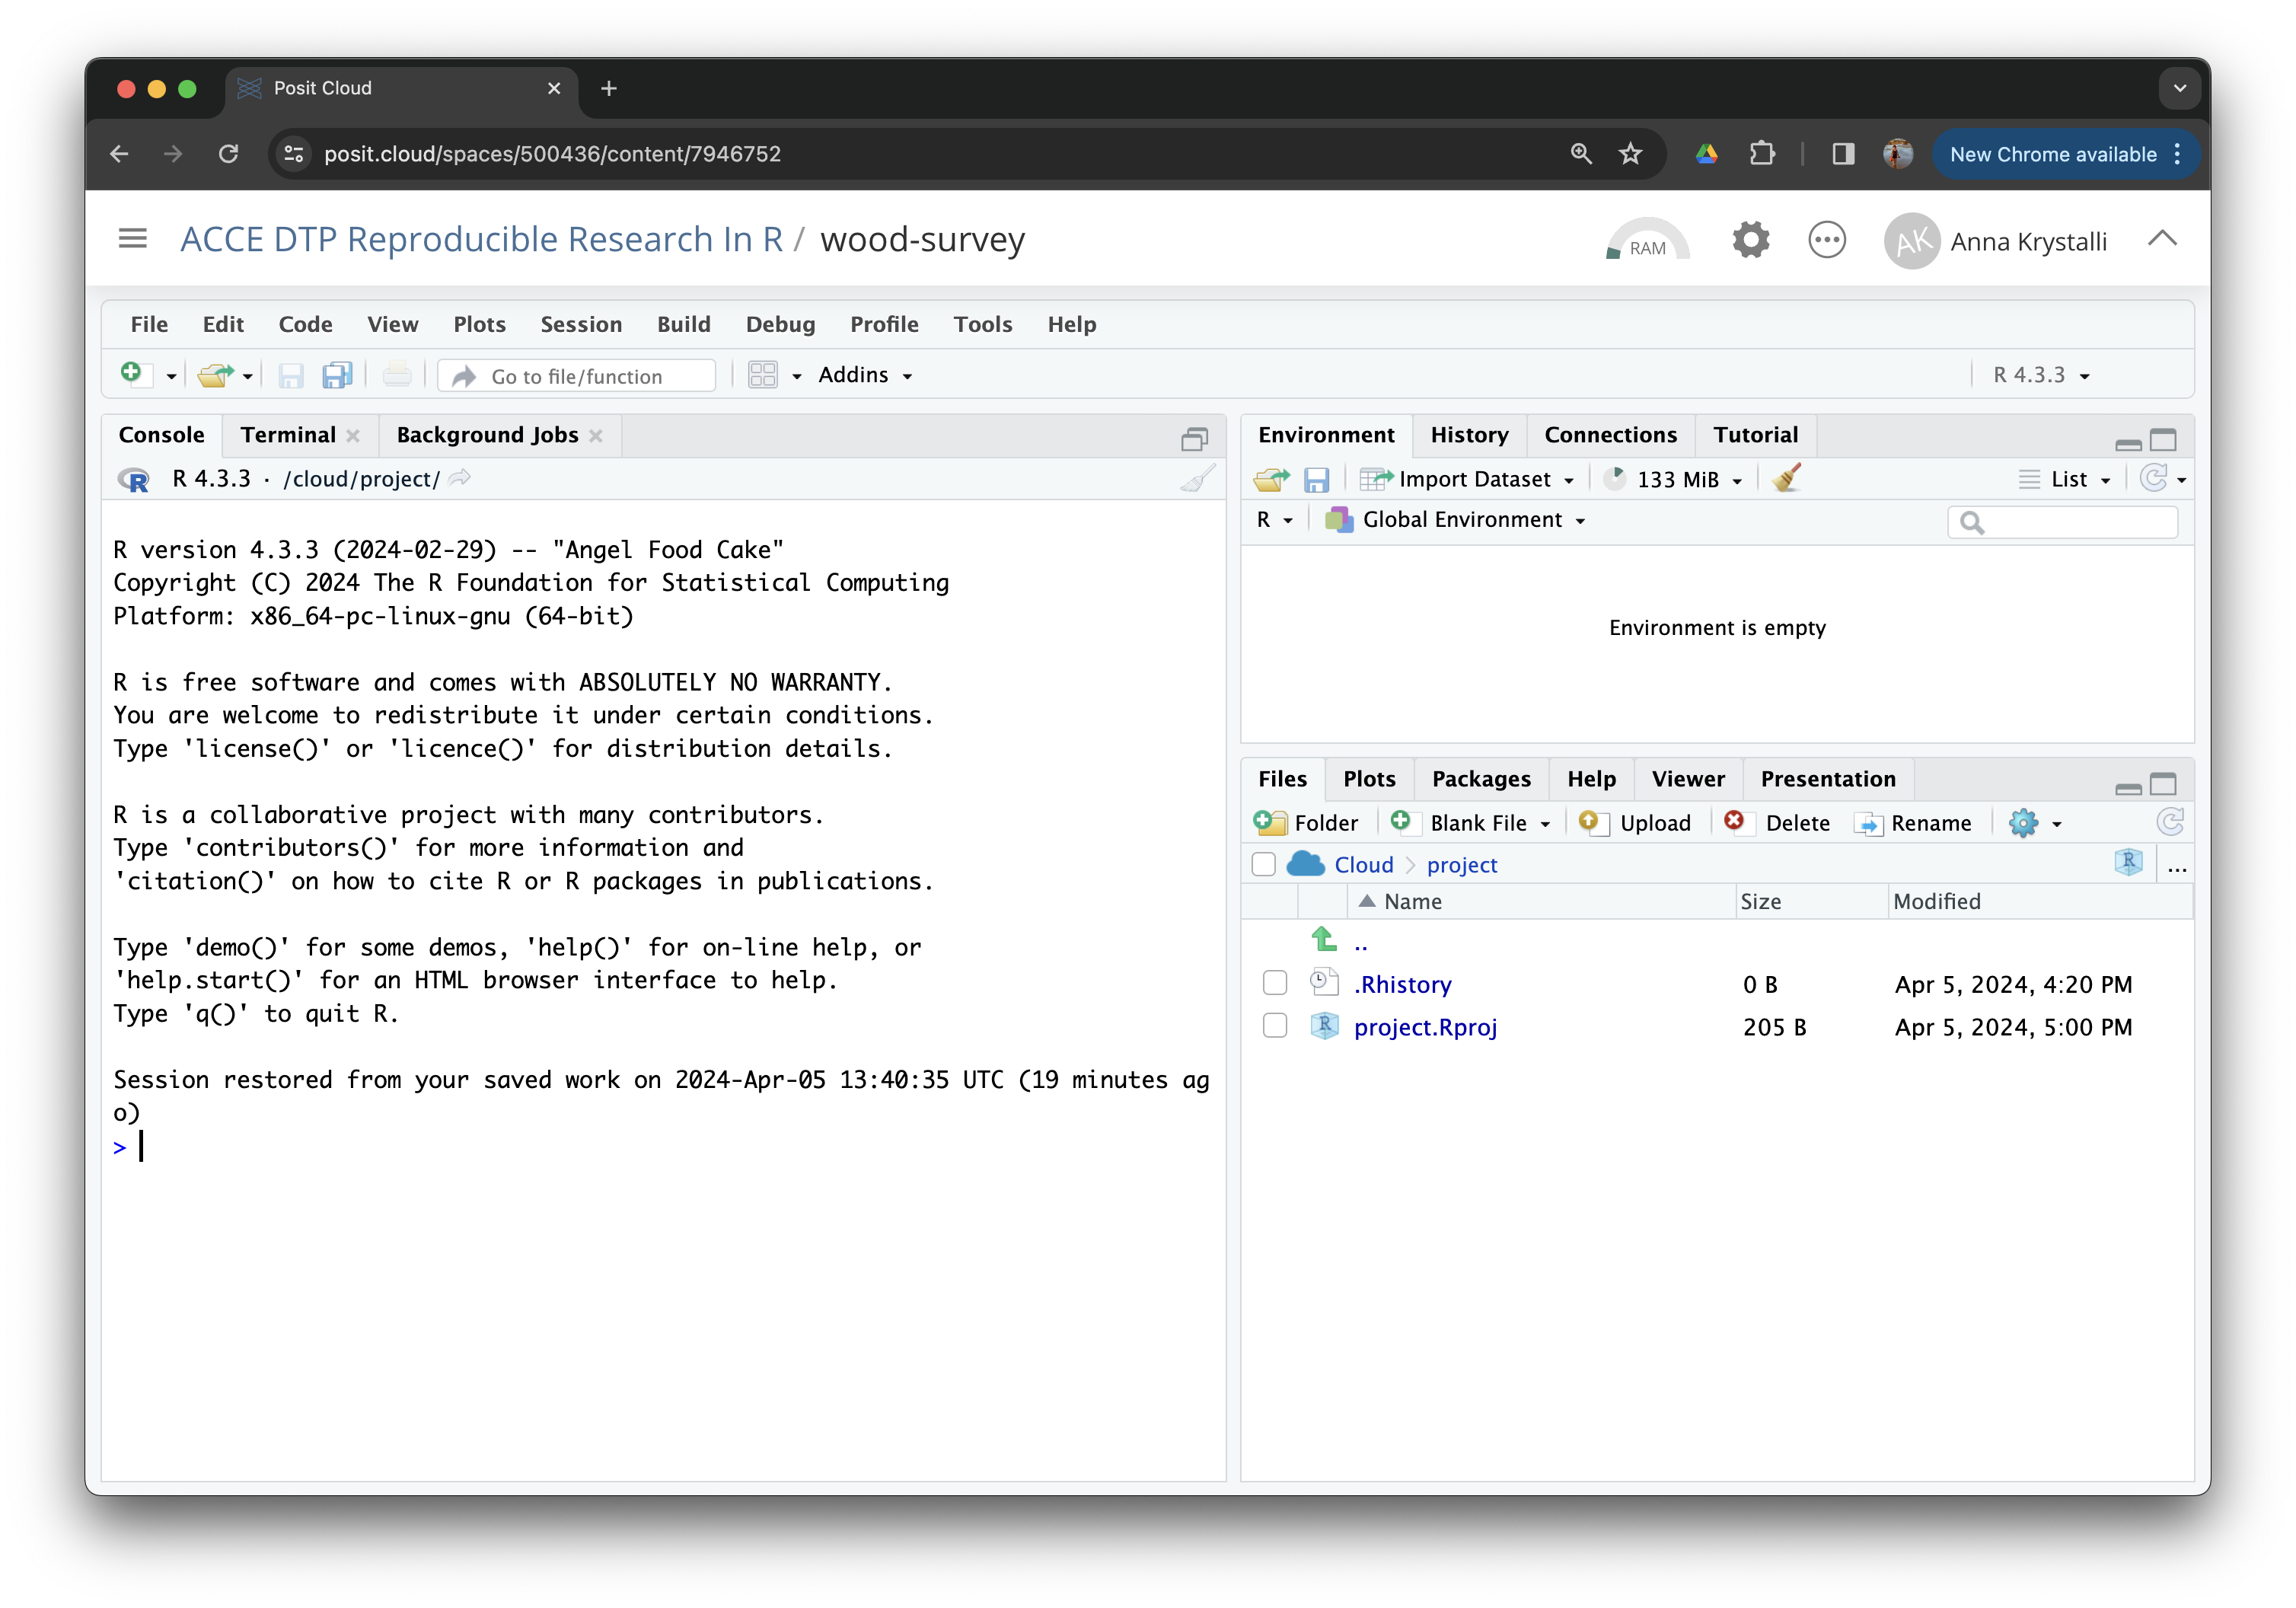
Rstudio IDE Global Options
You can customise your RStudio IDE to suit your preferences. To access the global options, click on Tools > Global Options.
Let’s go ahead and set up some useful options:
In the General tab you can customise default configurations for your R Sessions & Workspace.
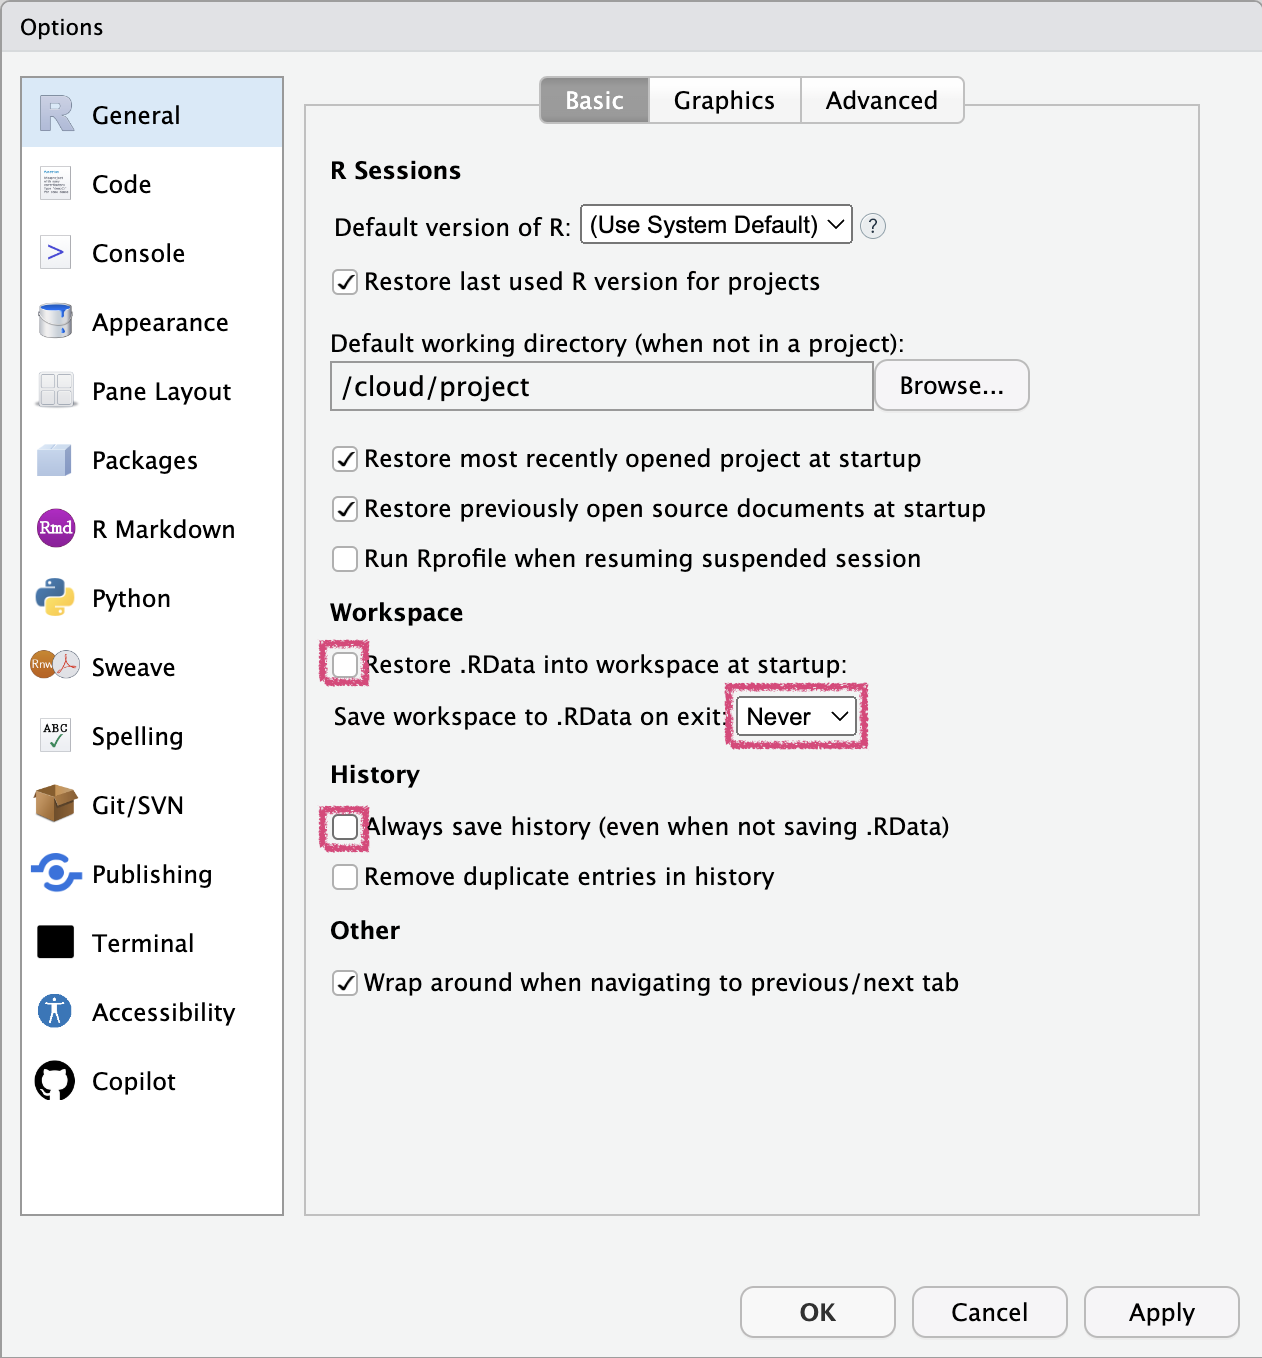
- Restore .RData into workspace at startup: This will stop R from loading an .RData file into your workspace when you start RStudio.
- Save workspace to .RData on exit: Never: This will ensure your workspace is never saved to an .RData file when you exit RStudio.
- Always save history (even when not saving .RData): This tells RStudio NOT to save your history to a .Rhistory file.
These settings ensure a clean fresh environment each time you start RStudio.
In the Code Editing tab you can customise how you would like your code to be edited.
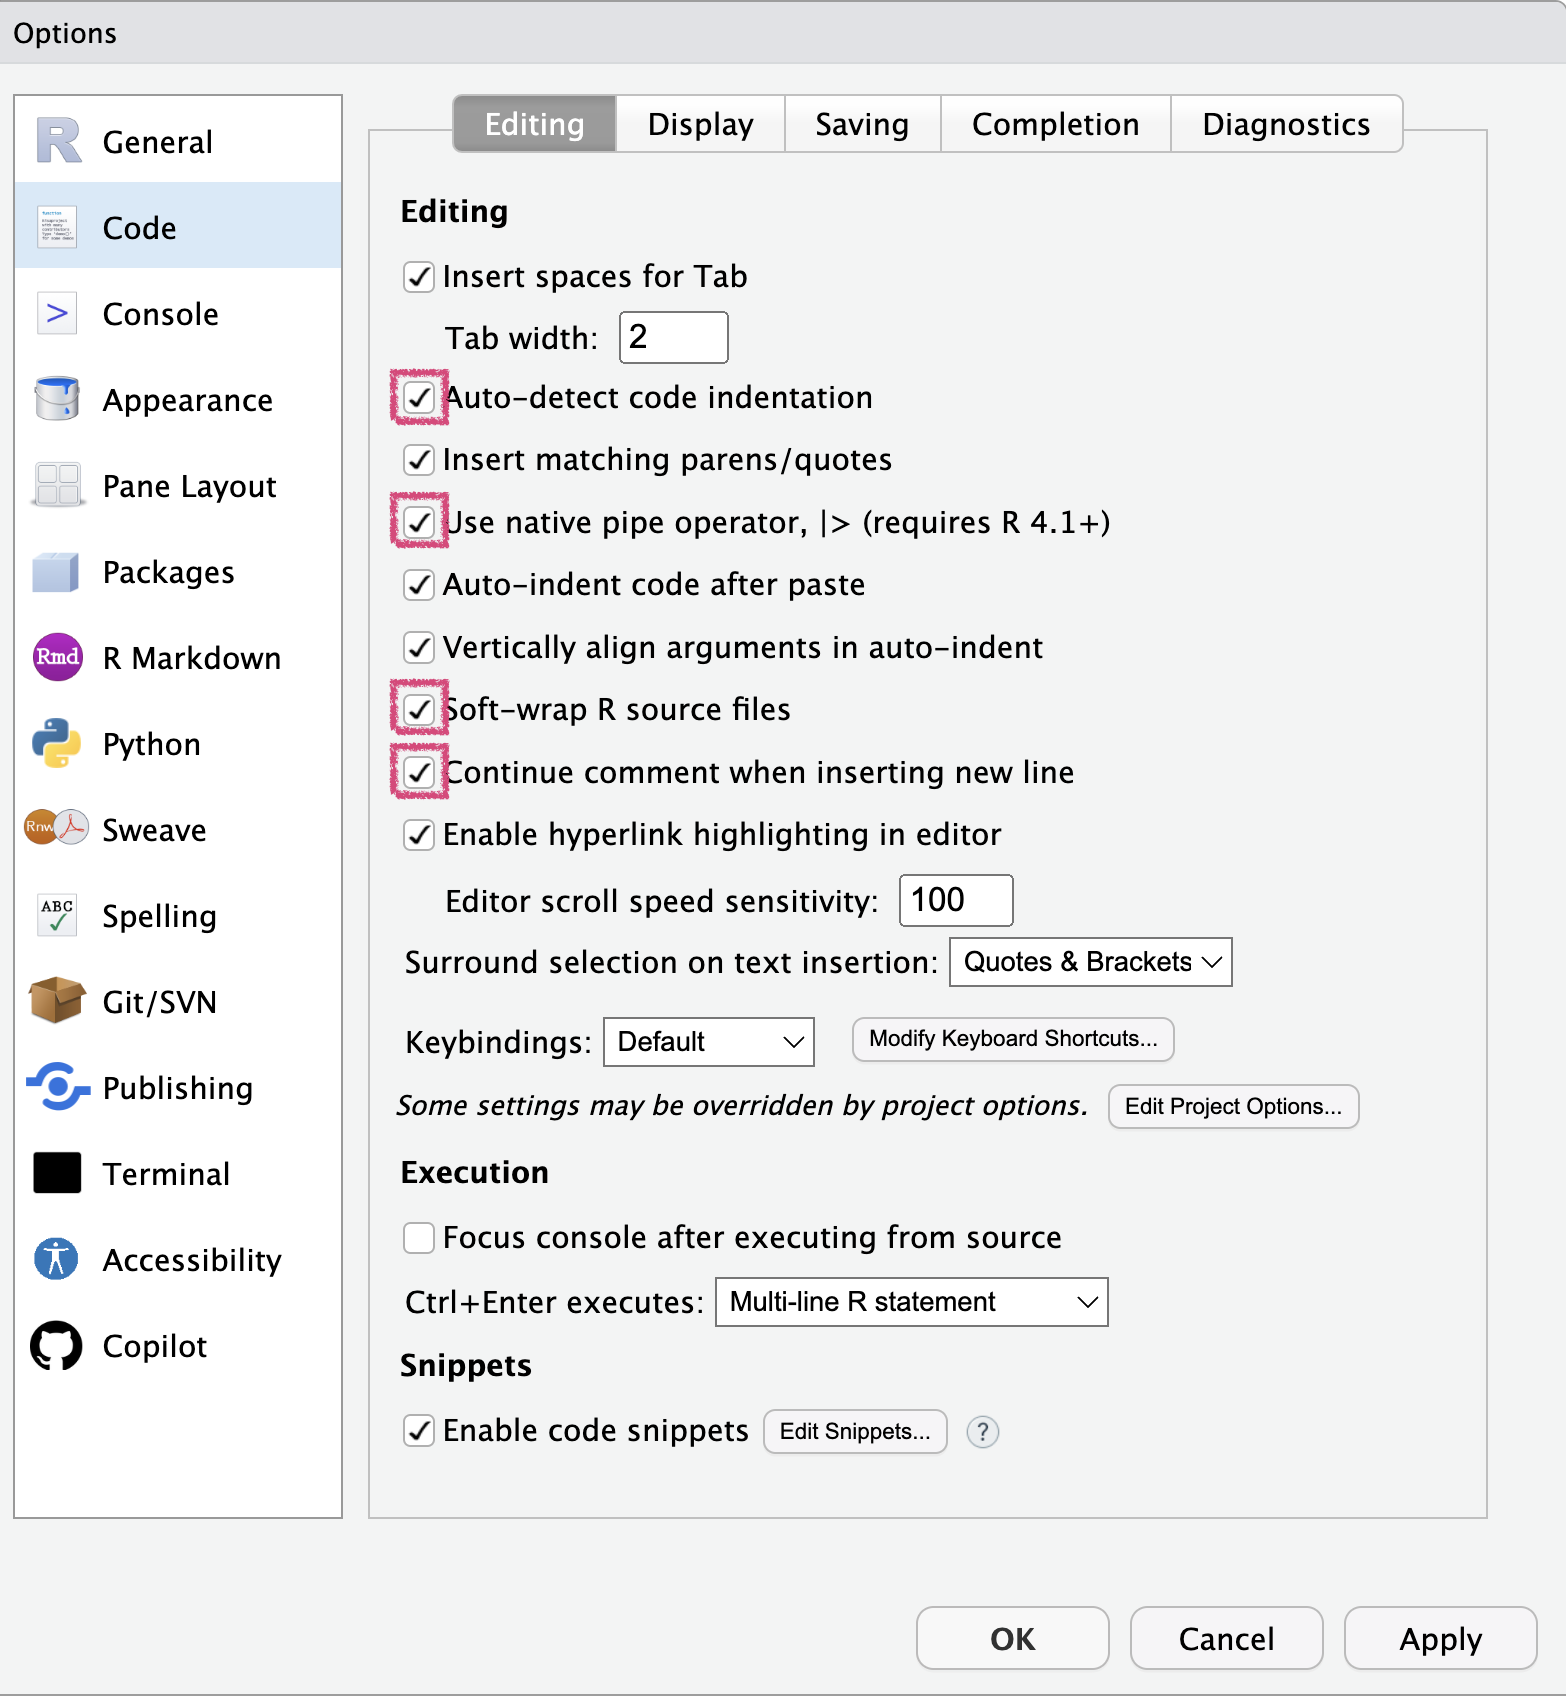
- Auto-detect code indention: This will automatically detect the appropriate indentation of your code.
-
Use native pipe operator: When using the insert Pipe command (Cmd/Ctrl + Shift + M), the native pipe operator
|>instead of the magrittr pipe operator%>%will be inserted. - Soft-wrap R source files: This will wrap your code to the next line when it reaches the end of the screen.
- Continue comment when inserting new line: This will continue the comment when you press enter at the end of a line that is a comment.
In the display tab you can customise how you would like your code to be displayed.
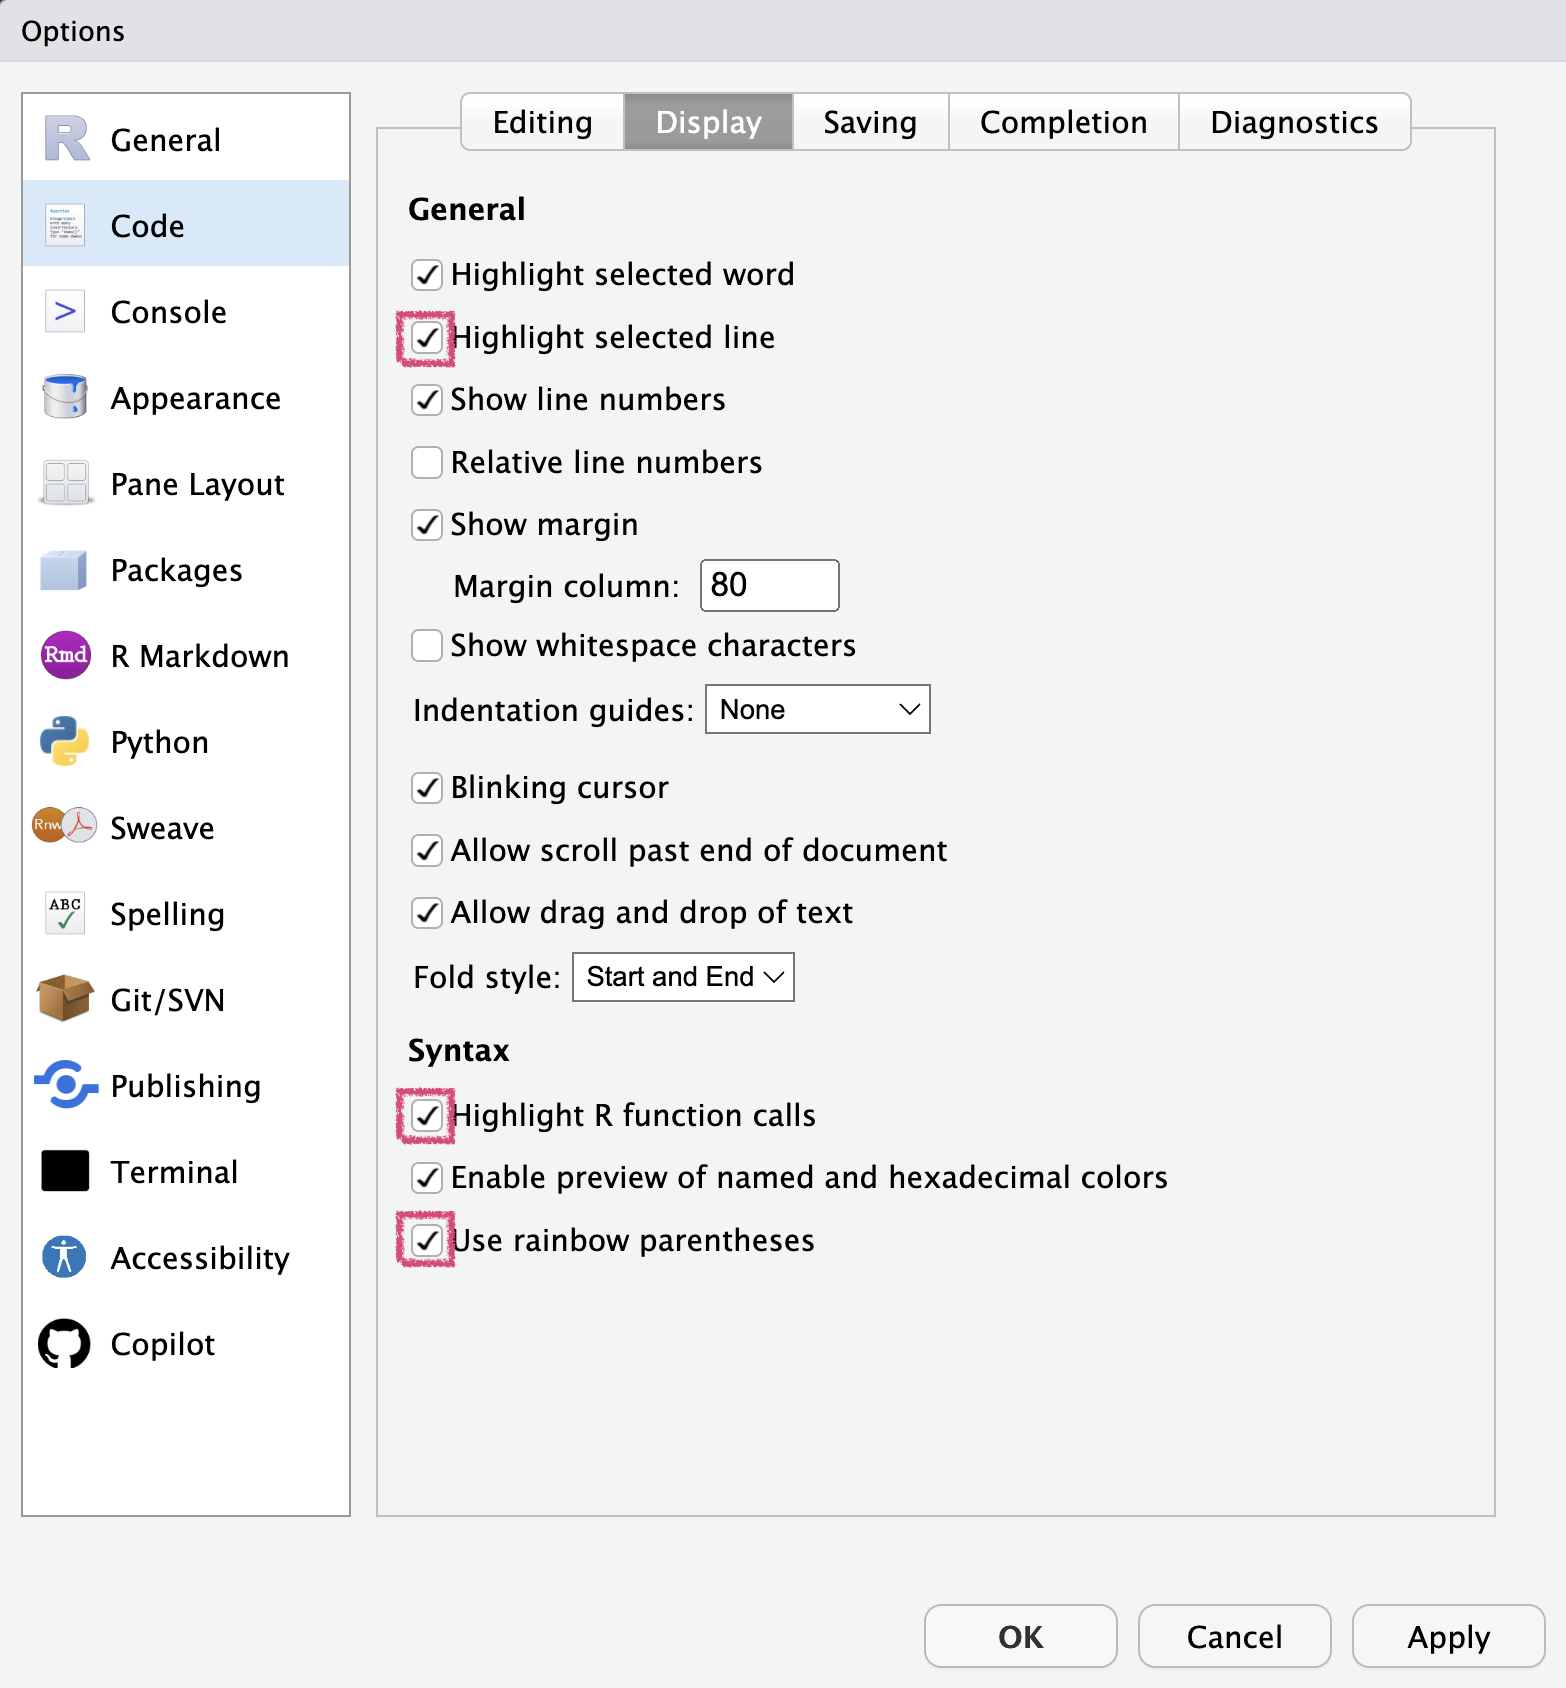 - Highlight selected line: This will highlight the line of code that you are currently working on. - Highlight R function calls: This will highlight the function calls in your code. - Use rainbow parentheses: This will colour code your parentheses to make it easier to see where they open and close.
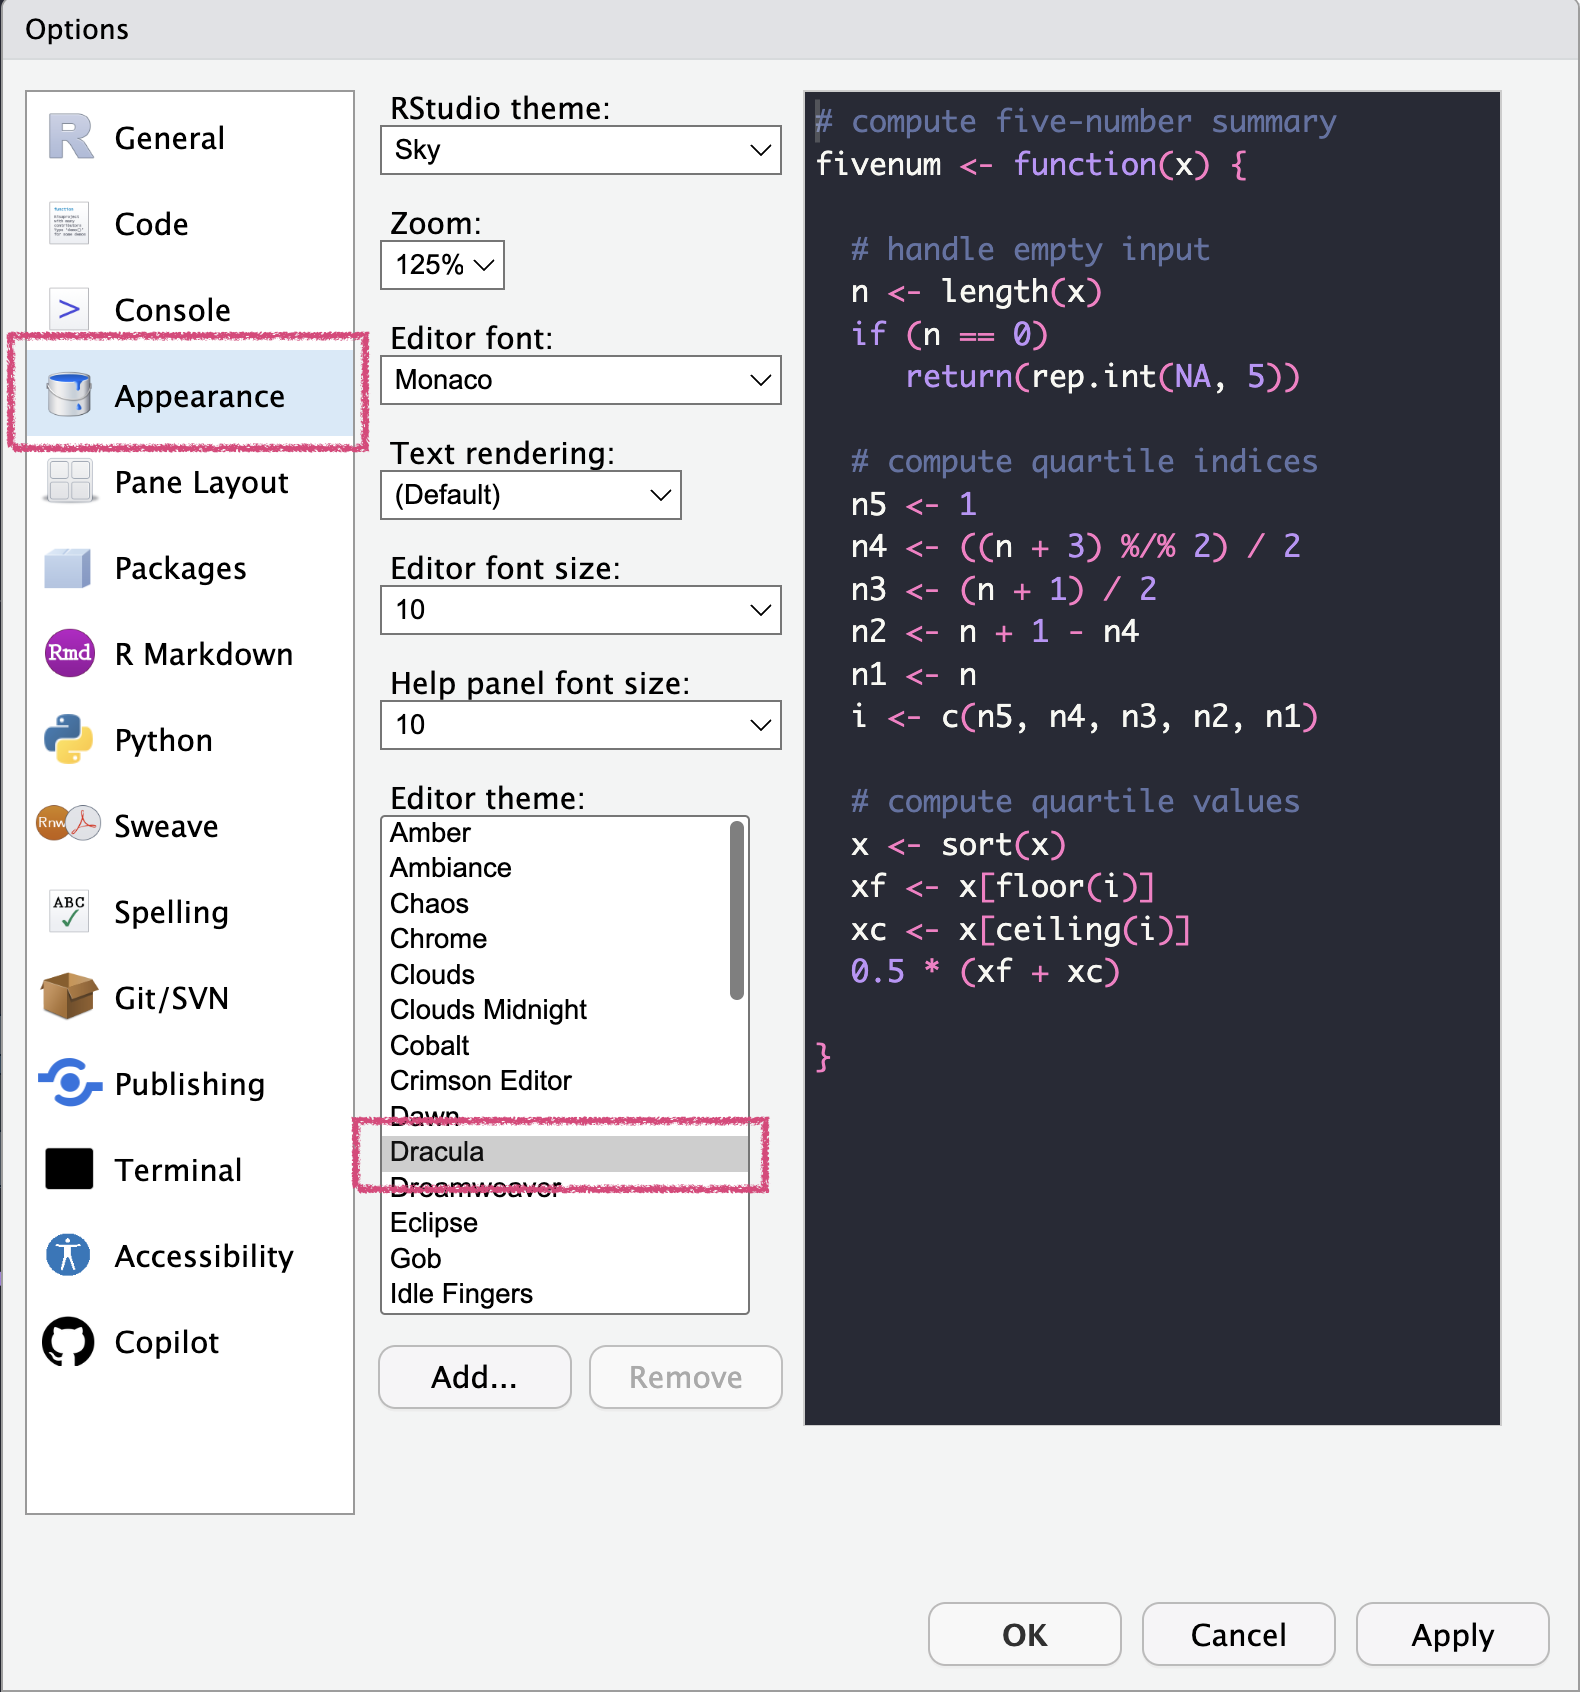
In the Appearance panel you are able to customise the appearance of the IDE including text size, font, and editor theme.
Creating projects locally
To create a new project locally in Rstudio, you can either use File > New Project > New Directory, or in the console (you only need to run this once, so you don’t want it to be part of a repeatable script) run:
In general, do not use such hard code paths in repeatable scripts. They might not work across operating systems and are unlikely to generalise across someone elses file system.
You will also need to run the setup/install.R script. See the setup instructions for more details.